Floral Wedding Invitation Card Set: A Guide to Avoiding Common Design Pitfalls
Choosing the right floral wedding invitation card set is often the first tangible step in bringing your big day to life. It sets the tone for the event, communicates your style before a single guest arrives, and serves as a keepsake long after the celebration ends. However, many couples and event planners rush into selecting a template without fully understanding the technical nuances of digital design files. This haste can lead to costly printing errors, mismatched fonts, or invitations that simply do not look as polished as intended.
The goal of this guide is to help you navigate the process of editing and using these templates effectively. Whether you are a beginner looking to create a personalized birthday party invite or a professional designer refining a client's project, understanding the specifics of the file format and layout is crucial. By focusing on practical details rather than just the visual appeal, you ensure that your final product reflects the care and effort you put into planning.
Understanding the File Format and Editing Requirements
One of the most significant misunderstandings regarding digital invitation templates involves the software required to open them. When you purchase a floral wedding invitation card set, the package typically includes Adobe Illustrator Ai, EPS, and JPG formats. While the JPG is an image you can view anywhere, it is not editable for text changes. The core value of the product lies in the Ai and EPS files, which are vector-based documents designed specifically for Adobe Illustrator.
A common mistake occurs when users attempt to open these files in free software like Microsoft Word, Google Docs, or even basic photo editors. These programs cannot interpret vector layers, resulting in missing graphics, broken links, or text that refuses to move. If you do not have access to Adobe Illustrator, you may find yourself stuck with a static image that cannot be customized. To avoid this frustration, ensure you have the necessary software installed before downloading. Alternatively, consider hiring a freelance graphic designer who has the tools to edit the file for you, saving you time and preventing technical headaches.
The Importance of Bleed Area and Print Quality
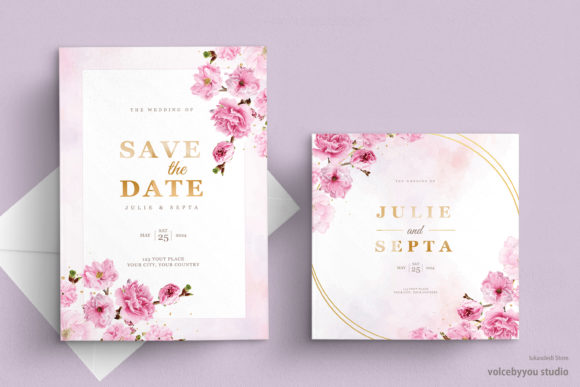
Visual perfection online does not always translate to print perfection. The product description specifies a 5×7 inch size with a designated bleed area. In the world of professional printing, the "bleed" is the extra space around the edge of the design that gets trimmed off. If you ignore this margin and place critical text or floral elements too close to the edge, the cutting machine might slice through your words or cut off part of the flower arrangement.
This oversight is a frequent cause of rejected prints or wasted money on reprints. Many beginners assume that the 5×7 inch dimension includes the entire design, but the safe zone for text is actually smaller. Before finalizing your design, check your document settings to ensure the bleed area is correctly configured according to your printer's requirements. Most printers recommend a standard bleed of 0.125 inches on all sides. If you are unsure, leave a larger margin around your text rather than risking a crop error.
Selecting the Right Fonts for Readability and Style
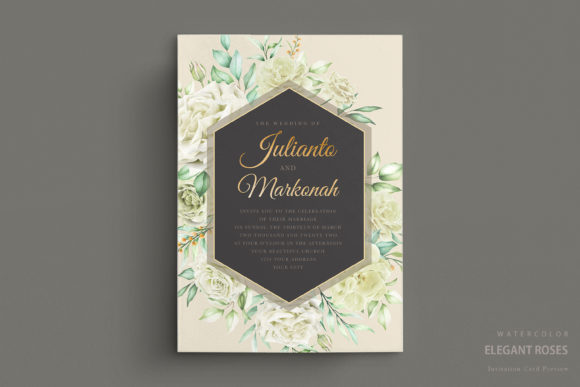
The aesthetic appeal of your invitation relies heavily on typography. This specific set utilizes two distinct typefaces: Libre-Baskerville and Great Vibes. Libre-Baskerville is a serif font known for its readability and classic elegance, making it perfect for the essential details like names, dates, and locations. Great Vibes, on the other hand, is a flowing script font that adds a touch of romance and formality, ideal for headings or decorative flourishes.
A common pitfall is trying to force these fonts to work together in ways they were not intended. For instance, using Great Vibes for the address block can make the information difficult to read at a glance. Guests need to quickly locate the venue and time; if the script font is too ornate or the size is too small, clarity suffers. Similarly, overusing the script font can make the invitation look cluttered and unprofessional.
To achieve a balanced look, stick to the designer's intent. Use the script font sparingly for the couple's names or the main title, and rely on the serif font for the logistical details. If you decide to change the font entirely, remember that you must replace the text layer in the Illustrator file. You cannot simply highlight the text and type a new font name if the original font is missing from your system; you must ensure the new font is installed locally or substitute the text with a similar web-safe alternative if you lack the licensing.
Color Consistency Across Devices
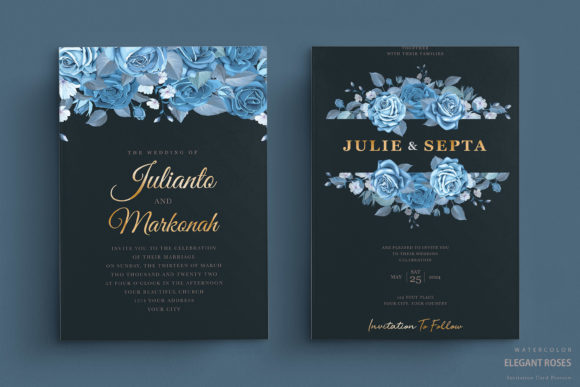
Another subtle issue arises from color discrepancies between screens and printed paper. Digital displays use RGB (Red, Green, Blue) color models, while printers use CMYK (Cyan, Magenta, Yellow, Key/Black). A vibrant floral pattern that looks stunning on your monitor may appear duller or slightly shifted in hue once printed.
If you are ordering custom prints, always request a proof before running the full batch. Ask your printer to convert your file to CMYK mode to preview the colors accurately. This step prevents the disappointment of receiving a box of invitations where the flowers look significantly different from what you saw on your laptop. For those sending digital invites via email or social media, ensure you save the JPG version in sRGB color profile to maintain consistency across various devices.
Evaluating the Template for Your Specific Needs
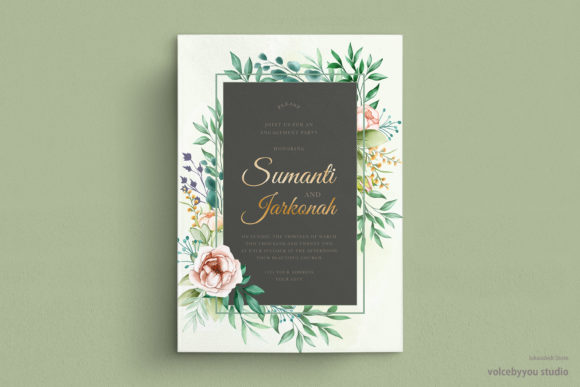
Before purchasing or downloading a floral wedding invitation card set, take a moment to evaluate whether it fits your specific event needs. While the description mentions it can be used for weddings or birthday parties, the scale and formality of the design matter. A highly formal floral arrangement might feel out of place at a casual backyard BBQ, whereas a simple floral border could elevate a corporate gala.
Consider the amount of text you need to include. Some templates come with pre-set text boxes that limit how much information you can add. If you have a complex schedule, multiple events, or detailed dress code instructions, you might find the default layout restrictive. Check the number of layers available in the Illustrator file. More layers mean more flexibility to rearrange elements, add photos, or insert additional text blocks without breaking the design structure.
Additionally, verify the resolution of any raster images included in the set. If the floral background is low-resolution, it will appear pixelated when printed at high quality. Since the file includes EPS vectors, the line art should remain crisp, but any embedded photos or textures need to be high-quality. Always zoom in to 400% within Illustrator to inspect the edges of your design elements before sending the file to print.
Final Steps for a Professional Result
Once you have edited your design, the final step is preparation for distribution. If you are mailing physical cards, double-check the spelling of every name and address. A typo on an invitation is easily overlooked by the sender but can be embarrassing for the recipient. Proofread the document three times: once on the screen, once as a PDF, and once as a physical proof copy.
If you encounter any issues during the editing process, such as missing fonts or locked layers, do not hesitate to reach out. The creator of the template encourages users to send messages or leave comments with questions. This support channel is invaluable for troubleshooting specific problems that might arise from unique system configurations. Taking advantage of this resource can save you hours of trial and error.
By paying attention to the technical specifications, respecting the design hierarchy, and verifying your output, you transform a simple digital file into a beautiful, functional piece of communication. A well-executed floral wedding invitation card set does more than announce an event; it creates a lasting impression of your taste and attention to detail. With the right approach, you can avoid common pitfalls and enjoy the satisfaction of a flawless invitation suite.